It has been a long time since I've posted anything :( ... for some reason Winter and Fall don't inspire me to sew. I was meaning to get some crocheting done and to tailor some of my jeans, but that has also been put to the side while trying to keep up with school and work...but Spring is right around the corner and I have a few new sewing projects coming up! :)
Last week I was at H&M and saw this blouse which I think is so pretty! It is extremely flattering and can really dress up an outfit... Not only that, but it is very easy to make from t-shirts or tank tops you already own.

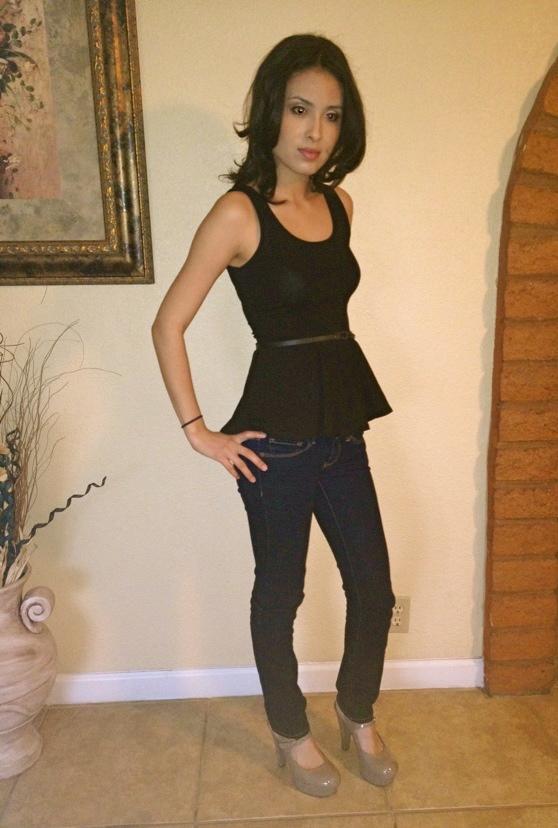
H&M Blouse
Right away I decided to buy a tank top that fits me well and an XL tank top for extra material to make the flounce bottom portion. It was so easy to make, in fact, the fastest sewing project I have made so far.
I hope you enjoy the sewing tutorial!
Start with a shirt that fits you well and some extra fabric for the flounce bottom. I decided to buy the exact same shirt in an XL size as well for the flounce to keep the materials exactly the same. You also have the option to change the color or the type of fabric to make it more unique.
.jpg)
I created a pattern from the H&M blouse I bought for the flounce. It is basically a cut out of 2 half circles. The circumference of the smaller circle ends up being the total width of your shirt. You would divide that by half since you will be cutting the fabric in half circles.
The bigger the difference between the circumference of the big circle and small circle, the more flow the blouse will have.
The bigger the difference between the circumference of the big circle and small circle, the more flow the blouse will have.

(While trying to figure out how to make this, I found out that the gathering/ruffle that this type of cut makes is called a flounce)
.jpg)
(Cut 2: for front and back)

(Sew side seams)
You will need to cut some length from your blouse. The flounce should start at your natural waist. I measured this to be at 2 inches above my belly button. I gave it a 1" seam allowance so I cut the shirt only 1" above my belly button.
.JPG)
Pin the smaller half circles, front and back, matching the side seams. My half circles ended up being a bit bigger than the width of my shirt, but because this is a stretchy fabric I was able to stretch the shirt to match the half circles without making it noticeable.
.jpg)
For the bottom seam I recommend you serge or zigzag the raw edge first, then iron the fold before sewing. It will make it a lot easier to sew the seam without ending up with wrinkles which tends to happens on rounded raw edges... after that you are all done! :)

I just bought this shirt from h&m and figured I would try to make my own and I found your blog. Thanks
ReplyDeleteThat's really cool! Let me know how it turns out!
ReplyDeleteSo cute! Love how these look on you. I tried the H&M one on and it reaaally didn't work on me! This makes me wish it did, even more!
ReplyDeleteThere are so many out there now, I'm sure you'll find one you'll like. To be honest I prefer the one I made over the H&M one ;-p
ReplyDeleteThat's really sexy! I love this style blouse/dress!
ReplyDeleteSaleable Korean Style Leisure Slim Long Sleeves Large Size Blouse, It is the fashion tag. Every girl always looking beautiful in blouse and sarees.
ReplyDeleteI love how easy this project is and I can't wait to try making my own blouse.
ReplyDelete